Autohost Remote MCP Server
Since 2019, we’ve invested heavily in enabling AI-powered KYC verifications. Now, we’re further extending that value by connecting your enterprise risk management data to more places where you already work, whether that’s an LLM, or another agent platform.
You can access information and tools from Autohost wherever you use Claude or ChatGPT to do all sorts of things like:
- Analyze verifications that require a manual review
- Change verification statuses
- Search verifications and reservations
- Create and send new verification requests
- Access Autohost documentation
- And so much more!
Unlike locally hosted MCP servers, our Remote MCP Server is run by Autohost to ensure a secure, supported experience. As always, we’ve embraced privacy by design in building it, so you can rest easy knowing it features OAuth authentication and respects all your existing permission controls.
To further ensure your enterprise data stays secure while enabling powerful integrations, our server will soon integrate with additional trusted and thoughtfully curated AI partners that support remote MCP. Stay tuned for more.
Connection methods
Choose the method that works best for your AI assistant:
- Apps/Connectors - ChatGPT App, Claude Connector
- Manual Configuration - Claude Desktop, Cursor, Claude Code, or your own app
The following auth methods are supported:
| Auth type | URL | Notes |
|---|---|---|
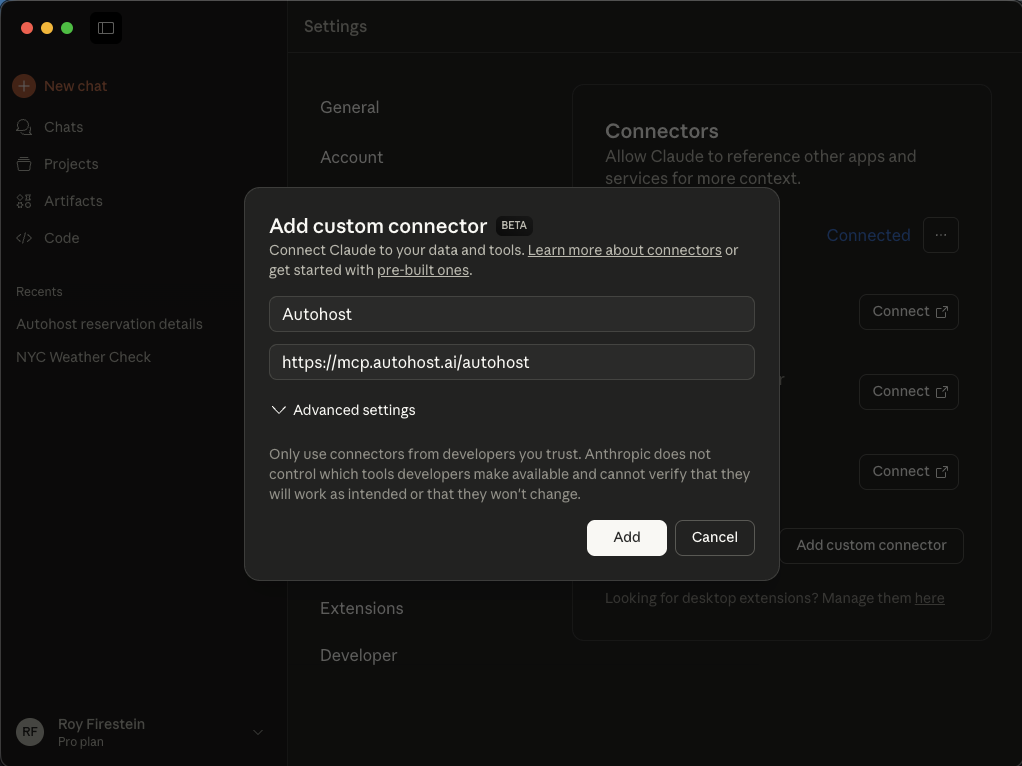
| OAuth | https://mcp.autohost.ai/autohost | For use with Claude and ChatGPT |
| API Keys | https://data.autohost.ai/v1/mcp/autohost | For use in your own app |
Usage
Connect through ChatGPT
- Log in to ChatGPT in a browser
- On the bottom left-corner, click on your profile and select Settings
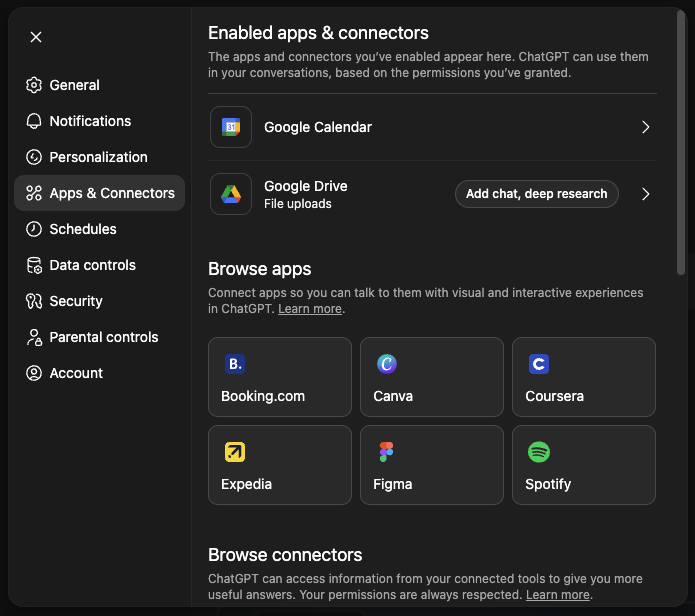
- Click on the Apps & Connectors menu item
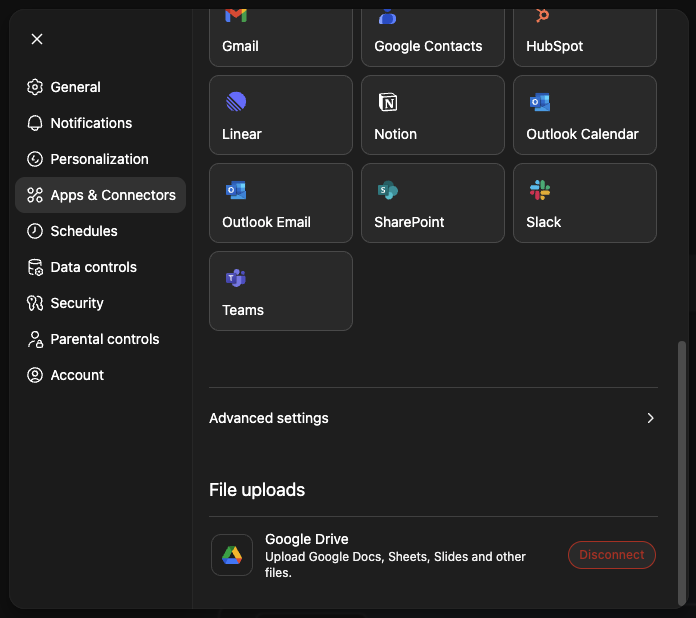
- Scroll down to the Advanced settings section and click on it
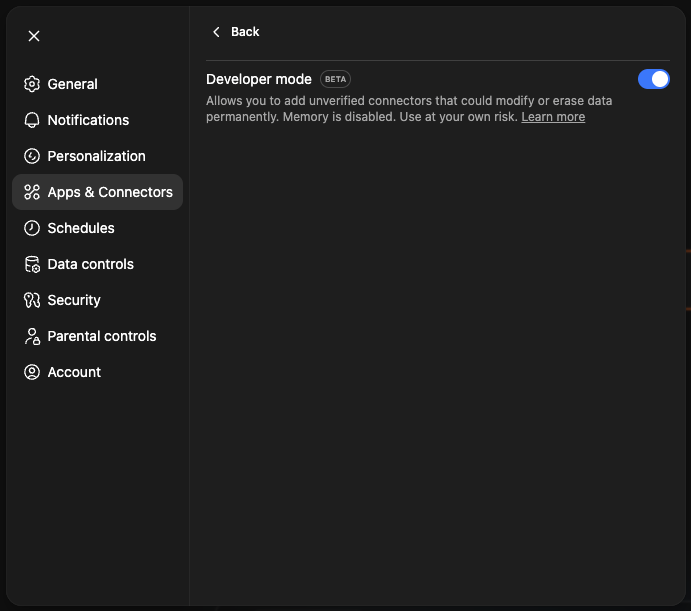
- Toggle on the developer mode
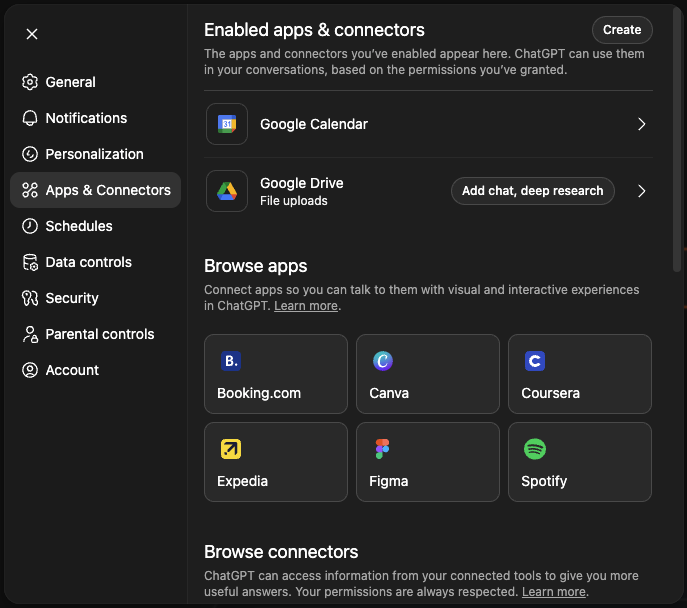
- Navigate back to the Apps & Connectors where you will see a new Create button
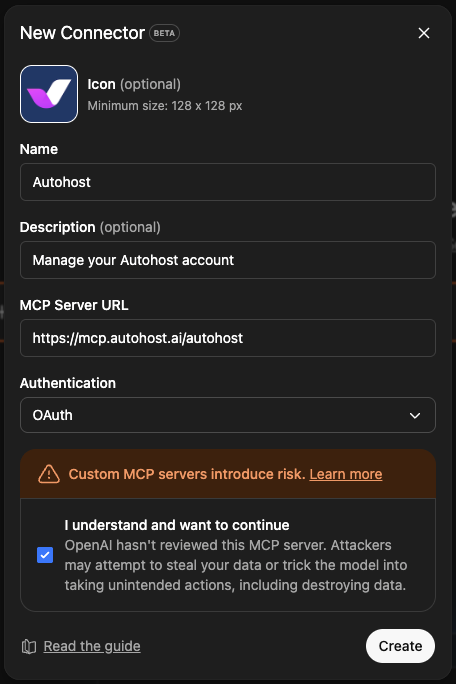
- Click on the *Create** button and enter the following details and submit
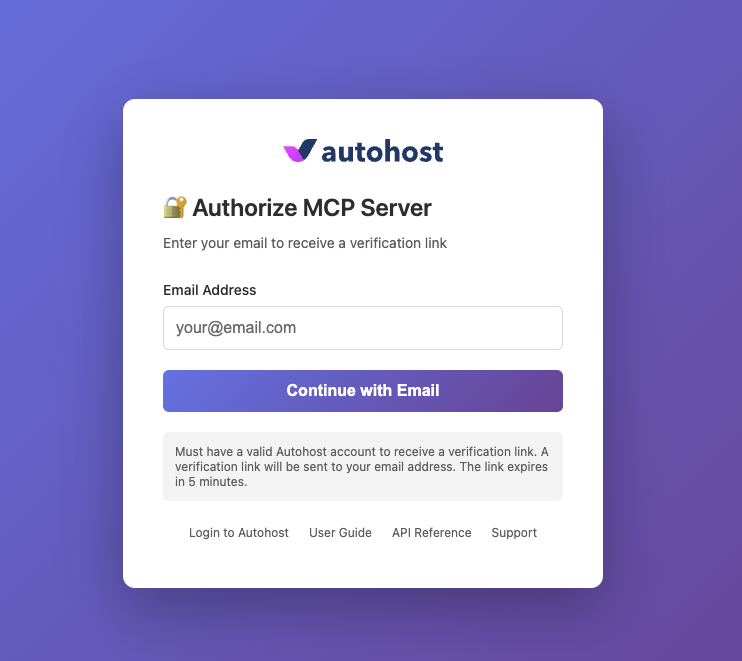
- You will be redirected to an authorization page where you'll need to provide your Autohost account email
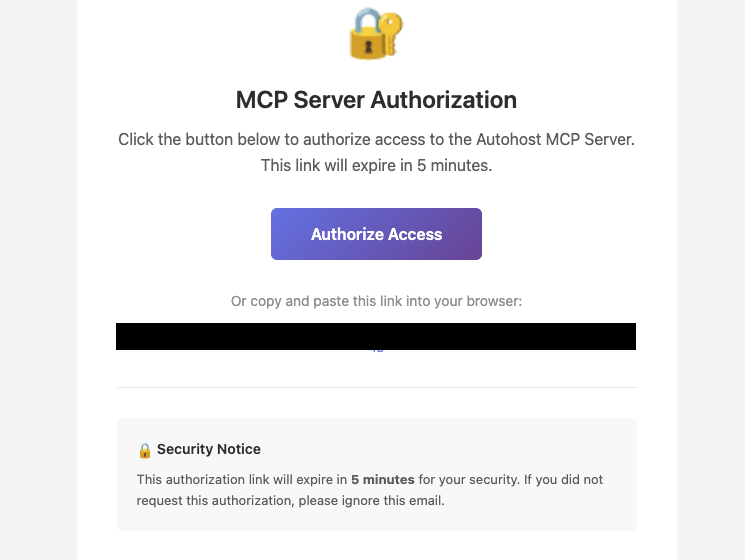
- Look for an email from Autohost to confirm granting ChatGPT access to Autohost
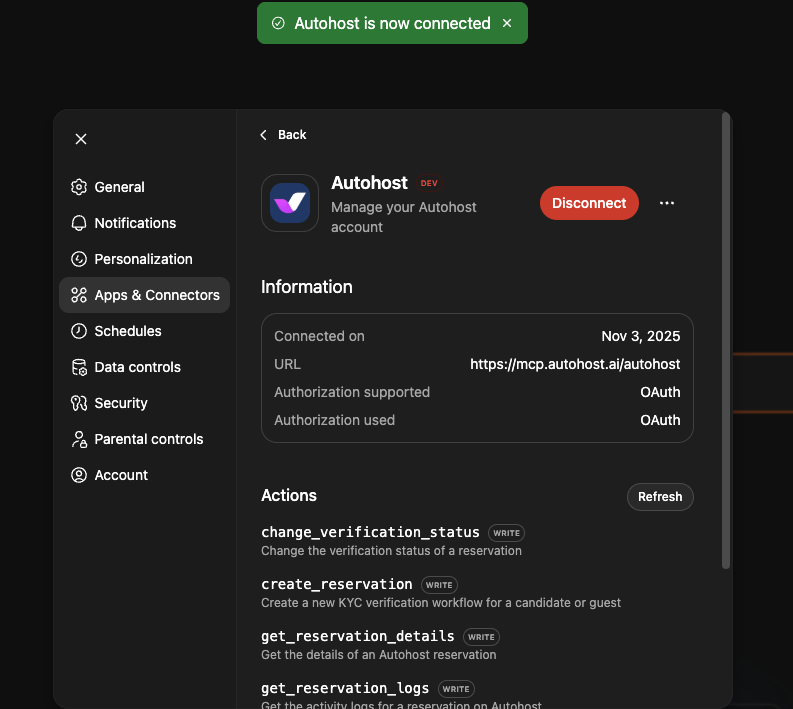
- You will be redirected back to ChatGPT with a success message
Done!
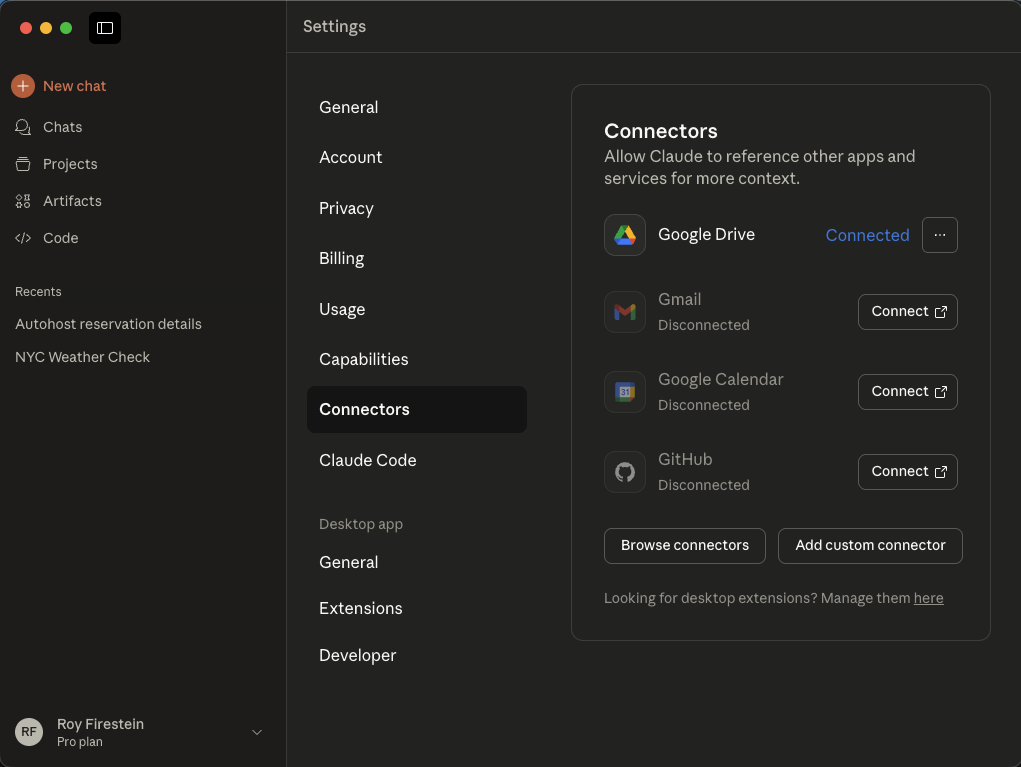
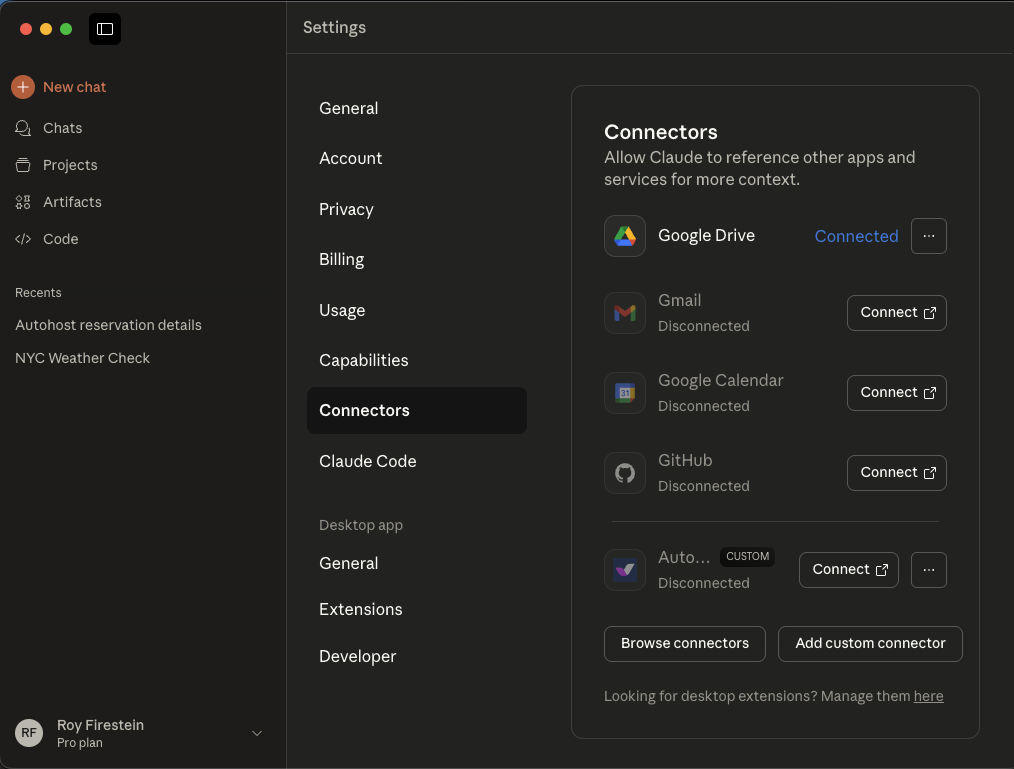
Connect through Claude
- Open your Claude Desktop app
- Click on your profile on the bottom-left corner and select Settings
- From the settings menu select Connectors and click on Add custom connector
- Enter the following details for the new connector
- Click on the Connect button next to the new connector you created
- You will be redirected to an authorization page where you'll need to provide your Autohost account email
- Look for an email from Autohost to confirm granting Claude access to Autohost
Done!
Tools
The following tools are exposed:
| Tool name | Description |
|---|---|
create_verification | Create a KYC verification request |
change_verification_status | Override the Autohost verification status to 'approve' or 'decline' |
get_reservation_logs | Get the activity logs for a verification request on Autohost |
search_documentation | Search the Autohost documentation |
search_reservations | Search for reservations or verification requests on Autohost |
get_verification_summary | Get the verification summary of a reservation |
Troubleshooting
Can’t connect to the AI Connector?
- Ensure your admin has enabled third-party integrations.
- Confirm you're logged into the correct Autohost account.
- Make sure Node.js 22.16+ is installed and functioning.
Getting access denied?
- Contact your admin to enable the Autohost AI Connector.
- Check whether your account has access to the features you're attempting to use (e.g. autofill)
FAQs
What can I do with AI Connector?
Your AI assistant can create new verification requests, search results, assist in reviewing suspicious findings, and more. Check out our blog for more actions and examples.
Can I use it on multiple AI assistants?
Yes. You can set up multiple assistants or clients using the same Autohost account.